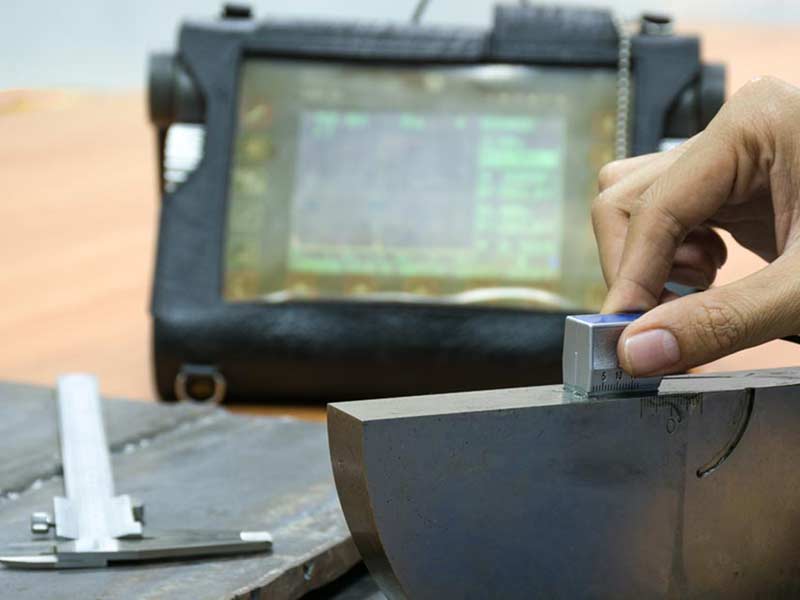
When working with a new client we like to start with their calibration program because it is a good way to define what ISO really is asking of your company. Many companies have no calibration system or do not have an understanding of what is truly required. ISO 9001 requires equipment used to perform inspection have a documented verification of its measurement results. If you have heard the saying “ISO is say what you do and do what you say,” this is a case where as a company you can define your calibration interval.
Calibration is about risk. The calibration interval is how much risk you are willing to take if your equipment fails calibration. The interval will determine the amount of potential nonconforming product that may exist.
Use the following guidelines to determine how much calibration risk you’re willing to take.
How critical is the measurement
Measurements related to safety or function features would increase the risk, indicating that the interval should be limited, however, surface finish or purely visual results may lead to an extension of the interval.
Avoid letting the calibration lab define the interval for you
Calibration labs have historically provided the interval for their customer but note they get paid every time they calibrate your equipment. Labs that are certified to ISO 17025 are not allowed to define the calibration interval for the customer. They should work with the customer to define best practice. Ensure you are working with a reputable lab that is customer focused, we recommend Micron Inspection in York, www.micronpa.com.
Review your certificates
It is critical to review each certificate that the lab provides. The review not only ensures the certificate is correct, but can also clue you into how the gage is trending. If you have had the gage checked every 6 months for 3 cycles and it has not change it may be time to extend your calibration cycle. You may also see a gage trending to one end of the specification or showing unstable results, indicating it is time to replace or repair the gage before it falls out of specification.
Pick the right tool for the right job
Review the equipment that you are utilizing for inspection to ensure it has a resolution that can effectively monitor the results. If your resolution is 10x that of your tightest specification and your gage fails calibration it may be out to such a small increment that it will have no effect on your results. Consider using a Gage R&R study to evaluate specific gaging applications.
What to do if it fails
If a gage fails it is your responsibility to repair it for future use but also to look backwards and understand where this out of tolerance condition may have had an effect on product. A review could lead to a recall, may demonstrate you need better equipment or tighter intervals.
ISO 9001 is built to ensure you are meeting customer requirements and evaluating your risk. Calibration is one key to ensuring that you are meeting these requirements and that you can prove your results while limiting risk. Good calibration labs are critical to the industry and can be an asset in selecting gaging, intervals and providing service but make sure you are using a reputable source.
Looking for assistance with your calibration risk? Contact Ledge Inc. today for guidance.


